Business Cards 10.08.26
How to Prepare Your Business Card Design Before Printing in NYC

Daniel Cantor
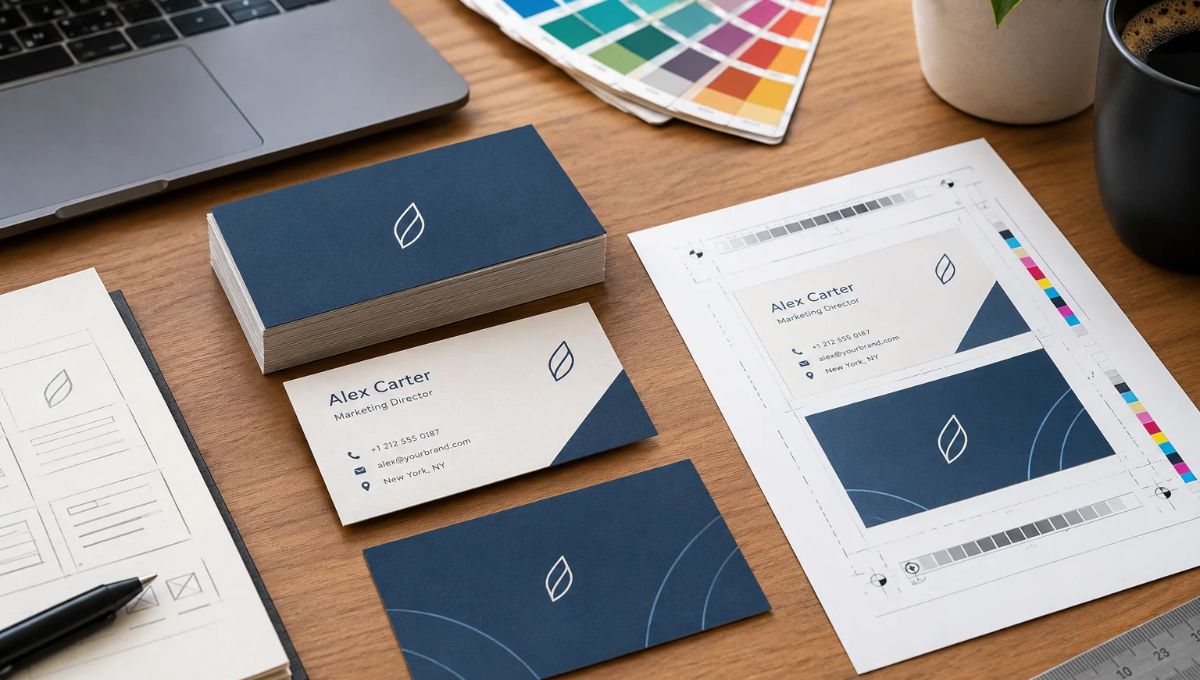
A well-designed business card can be one of the simplest ways to make a professional impression in New York City. However, creating an attractive design on a screen is only part of the process. Before sending your artwork to a printer, you need to make sure the document is correctly sized, the important information is positioned safely, colors are prepared for print, images have sufficient resolution, and the final file meets your printer’s technical requirements. Whether you are designing the card yourself or working with a business card maker NYC professionals can help you find, proper preparation can prevent avoidable printing problems and help your finished cards look closer to the design you approved.
At Japan Printing, we combine design and professional printing services for business cards and stationery. If you are preparing a new card for your company, personal brand, or professional networking, you can request a quote from Japan Printing for your business card design and printing project and let our team help you prepare the artwork for production.
Start With the Correct Business Card Size, Bleed, and Safe Area
One of the first things to establish before designing a business card is the final physical size. In the United States, a commonly used business card format is 3.5 × 2 inches, although businesses can choose other dimensions, shapes, and specialty formats. Adobe’s own business-card tutorial demonstrates a 3.5 × 2-inch document, while individual printing companies may have their own file specifications. This is why you should always confirm the exact template and requirements with the printer before completing the artwork.
The next consideration is bleed. Bleed is the additional artwork that extends beyond the final trim edge. It allows the printer to cut the card without leaving unwanted white edges when a background or photograph extends all the way to the edge. Adobe explains that bleed compensates for slight variations during printing and trimming.
Your design should therefore distinguish between three areas:
- Final trim size: The actual finished dimensions of the business card.
- Bleed area: Extra artwork extending beyond the trim line.
- Safe area: The interior region where important information should remain.
The exact bleed requirement is not universal. For example, one current PrintPlace guide specifies 0.25 inches for certain products, while MOO’s business-card templates use a 2 mm bleed and GotPrint lists 0.1 inches for many business cards.
This difference illustrates an important principle: do not simply copy a bleed value from another project. Ask your NYC printer for the specifications of your particular card stock, size, shape, and finishing process.
If you are using a business card maker NYC service, provide the printer with the exact card specifications before finalizing your design. A professional printer can tell you the correct document dimensions, bleed, safe area, and file format before production begins.
Prepare Your Colors, Images, Fonts, and Graphics for Professional Printing
A design that looks perfect on a computer monitor does not necessarily reproduce identically on printed paper. One of the biggest reasons is the difference between screen-based RGB color and print-oriented CMYK color. Adobe explains that print projects generally need to account for CMYK color, while screen designs use RGB. However, the exact color-management workflow should follow the specifications of the printing provider.
Before exporting your business card, review every visual element. In particular, check:
- Color mode: Confirm whether your printer requires CMYK or another specified workflow.
- Images: Use sufficiently high-resolution images rather than small images enlarged inside the design.
- Logos: Whenever possible, use vector artwork so logos and other graphics remain sharp at different sizes.
- Fonts: Make sure fonts are available, embedded, or outlined according to the printer’s requirements.
- Links: Check that placed images and graphics are correctly linked or embedded.
- Small text: Review fine print at actual size rather than relying only on a large monitor preview.
Adobe’s current InDesign guidance recommends checking links, fonts, color settings, bleeds, margins, and preflight errors before exporting a print-ready PDF. Its preflight recommendations specifically identify issues such as missing fonts, low-resolution images, and overset text.
Resolution deserves particular attention. Professional printing guides commonly recommend around 300 DPI/PPI or higher for raster images, although individual printers can specify different requirements. PrintPlace, for example, recommends 300 DPI for relevant visual elements, while GotPrint currently lists 300–350 DPI for business-card files.
This matters particularly when a business card contains photographs, detailed product images, textures, or illustrations. A low-resolution image may appear acceptable when viewed small on a screen but reveal pixelation when printed.
The same principle applies to typography. Your name, company name, phone number, email address, website, and other contact details need to remain readable at the actual finished card size. Avoid making secondary information unnecessarily tiny simply to fit more content onto the card.
A professional business card maker NYC service can also help determine whether your artwork is technically suitable for the selected printing method and finishing options.
Design the Information Hierarchy Before Adding Decorative Elements
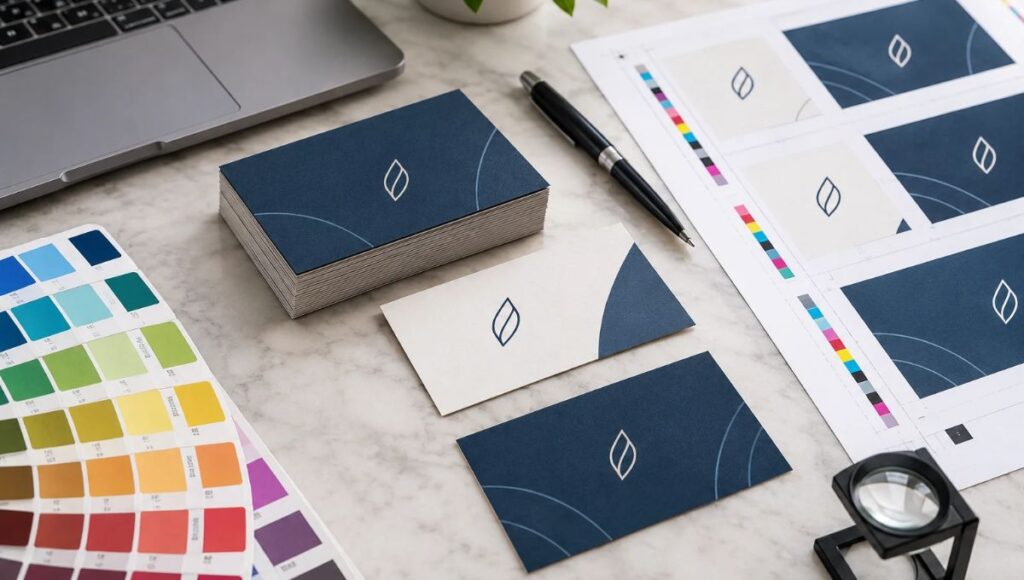
Technical preparation is important, but a print-ready file can still produce a poor business card if the design itself is difficult to understand. Before worrying about decorative finishes, decide what information the recipient should notice first.
A business card usually has limited physical space, so every element needs a purpose. Instead of treating the card as a miniature brochure, establish a visual hierarchy that guides the reader from the most important information to the supporting details.
For example, you might organize the content around:
- Brand or logo – Establishes who the card belongs to.
- Name – Identifies the person the recipient met.
- Job title or role – Explains what the person does.
- Primary contact information – Such as phone number or email.
- Website or social profile – Provides another way to continue the interaction.
- Call to action or QR code – When appropriate, directs the recipient to a useful digital destination.
Your layout should also account for how the card will actually be handled. Important information should not sit directly against the trim edge. Printing companies commonly recommend maintaining a safe zone around the perimeter to reduce the possibility of important elements being affected during trimming.
Borders deserve special attention. A thin border positioned very close to the edge can make even a small trimming variation more noticeable. GotPrint specifically notes that borders are not recommended because cutting shifts can affect their appearance.
Before sending your artwork to a printer, ask yourself:
- Can someone understand what the company does quickly?
- Is the name easy to find?
- Is the contact information readable without zooming?
- Does the logo have enough space around it?
- Is there unnecessary information that could be removed?
- Does the front and back of the card serve different purposes?
- Does the design still look balanced when viewed at its actual physical size?
This stage is where working with a professional business card maker NYC can add value. A designer can help turn a collection of contact information into a structured piece of brand communication rather than simply placing text and a logo on a template.
The goal is not to fill every available millimeter. The goal is to create a card that remains recognizable, readable, and visually consistent when it is printed, handled, exchanged, and viewed in real-world situations.
Choose Finishes and Export a Print-Ready File Before Approving Production
The final stage is to prepare the artwork for the actual printing process. Your design decisions should take into account not only the visual appearance of the card but also the stock and finishing techniques you have selected.
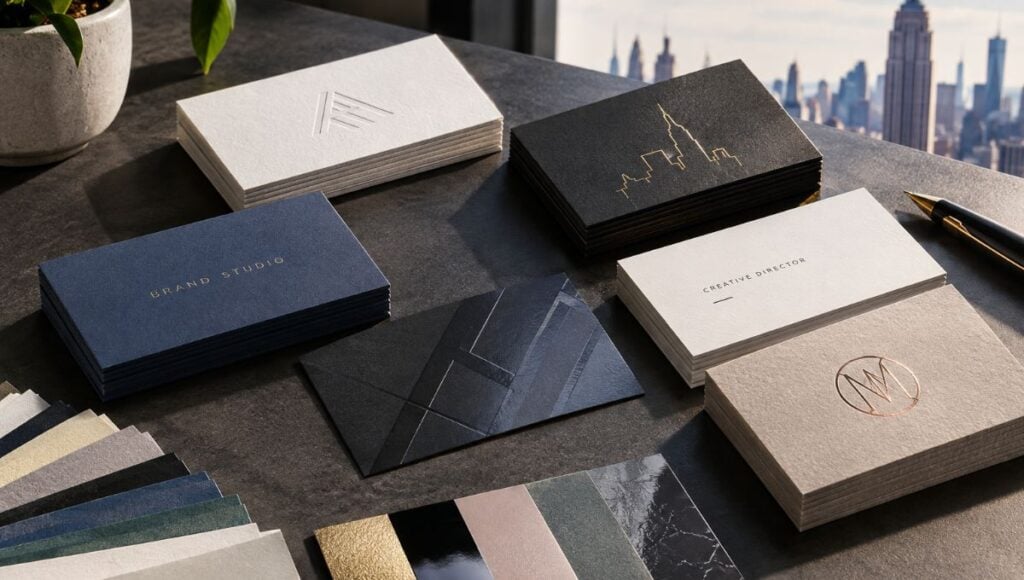
Depending on the printer and product, business cards can incorporate options such as different paper stocks, coatings, soft-touch surfaces, spot UV, foil, raised effects, and other specialty treatments. These finishes may require additional artwork or specific production layers. For example, MOO’s current spot-gloss guidelines require a separate file defining the areas where the special finish will be applied, while PrintPlace similarly specifies separate artwork requirements for spot UV projects.
Before submitting the final file, confirm:
- The card dimensions match the printer’s template.
- The required bleed has been included.
- Important information remains inside the safe area.
- Images meet the printer’s resolution requirements.
- Colors follow the printer’s requested color workflow.
- Fonts are properly embedded or converted according to requirements.
- Front and back artwork are correctly oriented.
- Special-finishing layers are prepared if required.
- Spelling, phone numbers, URLs, email addresses, and social handles have been checked.
- The final PDF has been reviewed at 100% size.
Adobe recommends exporting print-ready PDFs using an appropriate print preset, such as High Quality Print or Press Quality, while following the print provider’s specifications. Adobe also recommends using preflight to identify problems before production.
Proofing is equally important. Do not assume that exporting a PDF automatically means the file is correct. Review the PDF carefully and, when available, request or review a printer proof before approving production. Printing providers may offer digital proofs specifically so customers can verify the submitted artwork before the cards are produced.
If you are working with a business card maker NYC, this is also the right stage to discuss the final paper stock, finish, quantity, turnaround, and production specifications. A professional printing company can review the project and identify technical issues before they become expensive production problems.
Conclusion
Preparing a business card for printing involves more than creating an attractive design. The document needs the correct dimensions, bleed, safe area, color settings, image resolution, typography, and export settings, while specialty finishes may require additional production files. Following the printer’s specific specifications and carefully reviewing a proof can help reduce avoidable errors and ensure that the finished cards accurately represent your brand. Whether you are working independently or with a business card maker NYC, preparing the artwork correctly is an important part of achieving professional printed results.
Japan Printing specializes in the design and printing of business cards and stationery, helping businesses turn their ideas and branding into professionally produced printed materials. If you are ready to create new business cards or need help preparing an existing design for production, request a quote from Japan Printing for your business card design and printing project and let our team help you take your artwork from concept to finished cards.
How to Choose Premium Business Cards in NYC: Materials, Finishes, Thickness & Pricing
Daniel Cantor
10.05.26